 Magyar
 English
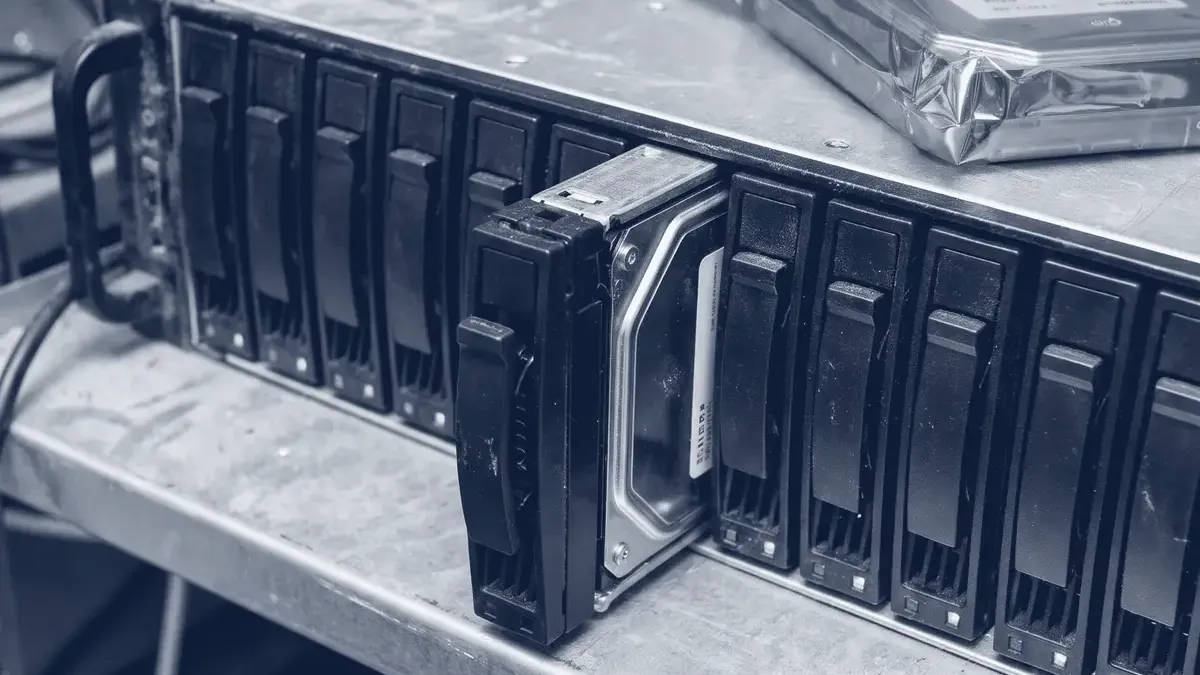
RAID (Redundant Array of Independent Disks) combines several physical disks into a single logical unit. The different RAID levels give you different things: one increases speed, another makes sure that the failure of one or two disks doesn’t bring the server down. In this article, we go through the levels most common on servers – RAID 0, 1, 5, 6 and 10 – and when it’s worth choosing each one.
Before we start, the most important point: RAID is not a backup. An accidental deletion, ransomware or a faulty update is replicated to every disk in an instant. RAID protects against disk failures, and its job is to keep the server running while you replace the faulty disk. Backup is a separate job altogether.
RAID levels in brief
| Level | Minimum disks | Usable capacity | Disk failures tolerated | Typical use |
|---|---|---|---|---|
| RAID 0 | 2 | 100% | 0 | Temporary, replaceable data |
| RAID 1 | 2 | 50% | 1 (in a two-disk mirror) | System disk, small servers |
| RAID 5 | 3 | (n−1) disks | 1 | Read-heavy data on SSD |
| RAID 6 | 4 | (n−2) disks | 2 | High-capacity HDD arrays, archive |
| RAID 10 | 4 | 50% | at least 1, 1 per mirror pair | Databases, virtualisation |
“n” is the number of disks. With four 4 TB disks, RAID 5 gives 12 TB of usable storage, and RAID 6 and RAID 10 give 8 TB.
RAID 0: striping, without redundancy
RAID 0 splits the data into stripes and writes them to the disks in turn. Both reads and writes get faster, and the full capacity can be used – but if a single disk fails, the data on the whole array is lost. With two disks, then, the risk is roughly twice that of a single disk.
On a server, use it only for data that can be recreated at any time: temporary files, caches, build directories.
RAID 1: mirroring
RAID 1 writes all data to two (or more) disks at the same time. If one fails, the other carries on working unchanged. Half the capacity is lost, but in return this is the simplest and most predictable solution: after the faulty disk is replaced, there is just one full copy.
For small servers, system disks and machines with two disks, RAID 1 is the right choice.
RAID 5: parity for one disk’s worth of capacity
RAID 5 writes parity information alongside the data, distributed evenly across the disks. Any one disk can drop out: the missing data can be calculated from the other disks and the parity. Only one disk’s worth of capacity is used up, so at first glance it is very economical.
Its weaknesses:
- Writes are slower. On every small write, the parity has to be recalculated and written too, so it’s less suited to databases and virtual machines.
- Rebuilding is risky. After a disk drops out, the array is left unprotected until the rebuild finishes. During that time, every remaining disk has to be read from end to end. With large HDDs of several terabytes, this can take up to a day, and under the heavy load the chance increases that a second disk also fails, or that the rebuild hits an unreadable sector. In that case, the whole array can be lost.
That’s why we no longer recommend RAID 5 for high-capacity hard disks. With SSDs, at smaller capacities, mainly for read-heavy data, it is still acceptable.
RAID 6: double parity
RAID 6 stores two independent parities, so it survives two disks failing at the same time. It costs two disks’ worth of capacity, and writes are even slower than with RAID 5, but on large HDD arrays it is the safe choice: protection remains even while one disk is being rebuilt.
For backup purposes, archives and file servers – where there is a lot of storage and few random writes – RAID 6 works well.
RAID 10: striped mirror pairs
RAID 10 (or RAID 1+0) builds mirror pairs and then stripes them. Half the capacity is lost, but in return both writes and reads are fast, and a rebuild only puts load on the faulty disk’s mirror pair, not on the whole array. One disk per mirror pair can drop out; if both disks of a pair fail, however, the whole array is lost.
For database servers and virtualisation hosts, where there are many small, random writes, RAID 10 is the best choice.
Hardware or software RAID?
Hardware RAID controller: the disks are managed by a separate card, and the operating system sees a single disk. Its advantage is a write cache protected by a battery or capacitor, which goes a long way towards offsetting the slow writes of RAID 5/6. Its drawback is that the array is tied to the controller: if the controller fails, you need an identical (or compatible) controller to access the data, and you can only see the state of the disks with the vendor’s own tool.
Software RAID on Linux (mdadm): the kernel manages the array, with no separate hardware. The array can be reassembled on any Linux machine if you move the disks over, and parity calculation is no problem for today’s processors. Most distributions’ installers – AlmaLinux 9’s, for example – can install directly onto software RAID; we wrote about the release of AlmaLinux 9 on the blog of aWh, our hosting brand.
ZFS: a file system and volume manager in one, with its own RAID levels (mirror, RAIDZ1, RAIDZ2, RAIDZ3, roughly equivalent to RAID 1, 5, 6 and a triple-parity level). It stores a checksum for every block, so it also detects and repairs silent data corruption. The Proxmox VE installer also offers ZFS. Don’t use a hardware RAID controller with ZFS: it has to see the disks directly (through an HBA or in IT mode).
Creating software RAID 1 with mdadm
Mirroring two new disks (/dev/sdb and /dev/sdc):
mdadm --create /dev/md0 --level=1 --raid-devices=2 /dev/sdb /dev/sdc
mkfs.ext4 /dev/md0
The status and the progress of the initial sync:
cat /proc/mdstat
mdadm --detail /dev/md0
Saving the configuration, so that the array comes up under the same name after a reboot (on Debian/Ubuntu):
mdadm --detail --scan >> /etc/mdadm/mdadm.conf
update-initramfs -u
On RHEL-based systems, the file is at /etc/mdadm.conf, and the initramfs is regenerated with dracut -f.
The same with ZFS is a single command:
zpool create tank mirror /dev/disk/by-id/ata-DISK1 /dev/disk/by-id/ata-DISK2
zpool status tank
With ZFS, it’s best to use the persistent names under /dev/disk/by-id/, because the /dev/sdX names can get swapped around on reboot.
Making sure RAID really protects you
RAID is only worth something if you know when a disk fails. An array that has been “working” for months with a failed disk takes the data with it at the second failure. The most important tasks:
- Alerts on failure. For mdadm, set an email address with the
MAILADDRline inmdadm.conf; for ZFS, ZED (the ZFS Event Daemon) sends alerts. For a hardware controller, hook the vendor’s tool into your monitoring. - SMART monitoring.
smartd(from the smartmontools package) warns you about deteriorating disks even before they fail completely. - Regular checks. mdadm’s scheduled
checkrun (monthly on Debian, weekly on RHEL-based systems) and ZFS’szpool scrubread through the disks and find unreadable sectors in time. - Spare disk. A hot spare disk takes over immediately from the faulty one; failing that, at least keep a replacement of the same size on the shelf.
- Different production batches. Disks bought at the same time from the same batch tend to fail close together in time.
Which RAID level should you choose?
- Two-disk server, system disk: RAID 1.
- Database, virtualisation host: RAID 10 (or striped ZFS mirrors).
- High-capacity file or backup server with HDDs: RAID 6 or RAIDZ2.
- Smaller SSD array, mainly for reads: RAID 5 or RAIDZ1 is also acceptable.
- Temporary, replaceable data: RAID 0.
The same principles apply to hosting servers: if you move to new hardware after migrating a CloudLinux server, it’s worth rethinking the disk layout along these lines.
We help with designing and installing servers and with monitoring storage systems; you can read about this on the Infrastructure and operations page.